Together we have decided to help you tackle those holiday stresses by offering some advice on what to eat ( from yours truly) and what to wear (from Viktoria.)
Anyways I hope you find this helpful and as always enjoyable.
So into the holidays you may encounter various situations, whether you are going to a cocktail party at work, you are having a holiday party with your friends or you getting together with your family we have you covered on all aspects!
Being the foodie that I am I don't believe in going to any social gathering empty handed so in the event you are just headed to work and you want to to bring something yummy and fast along with you I bring you a recipe that has been passed down to me through friends and then in my family for years. We don't have a single gathering in which these little gems aren't included during the holidays. Thanksgiving, Christmas, New Years Eve. They are present at every single one.
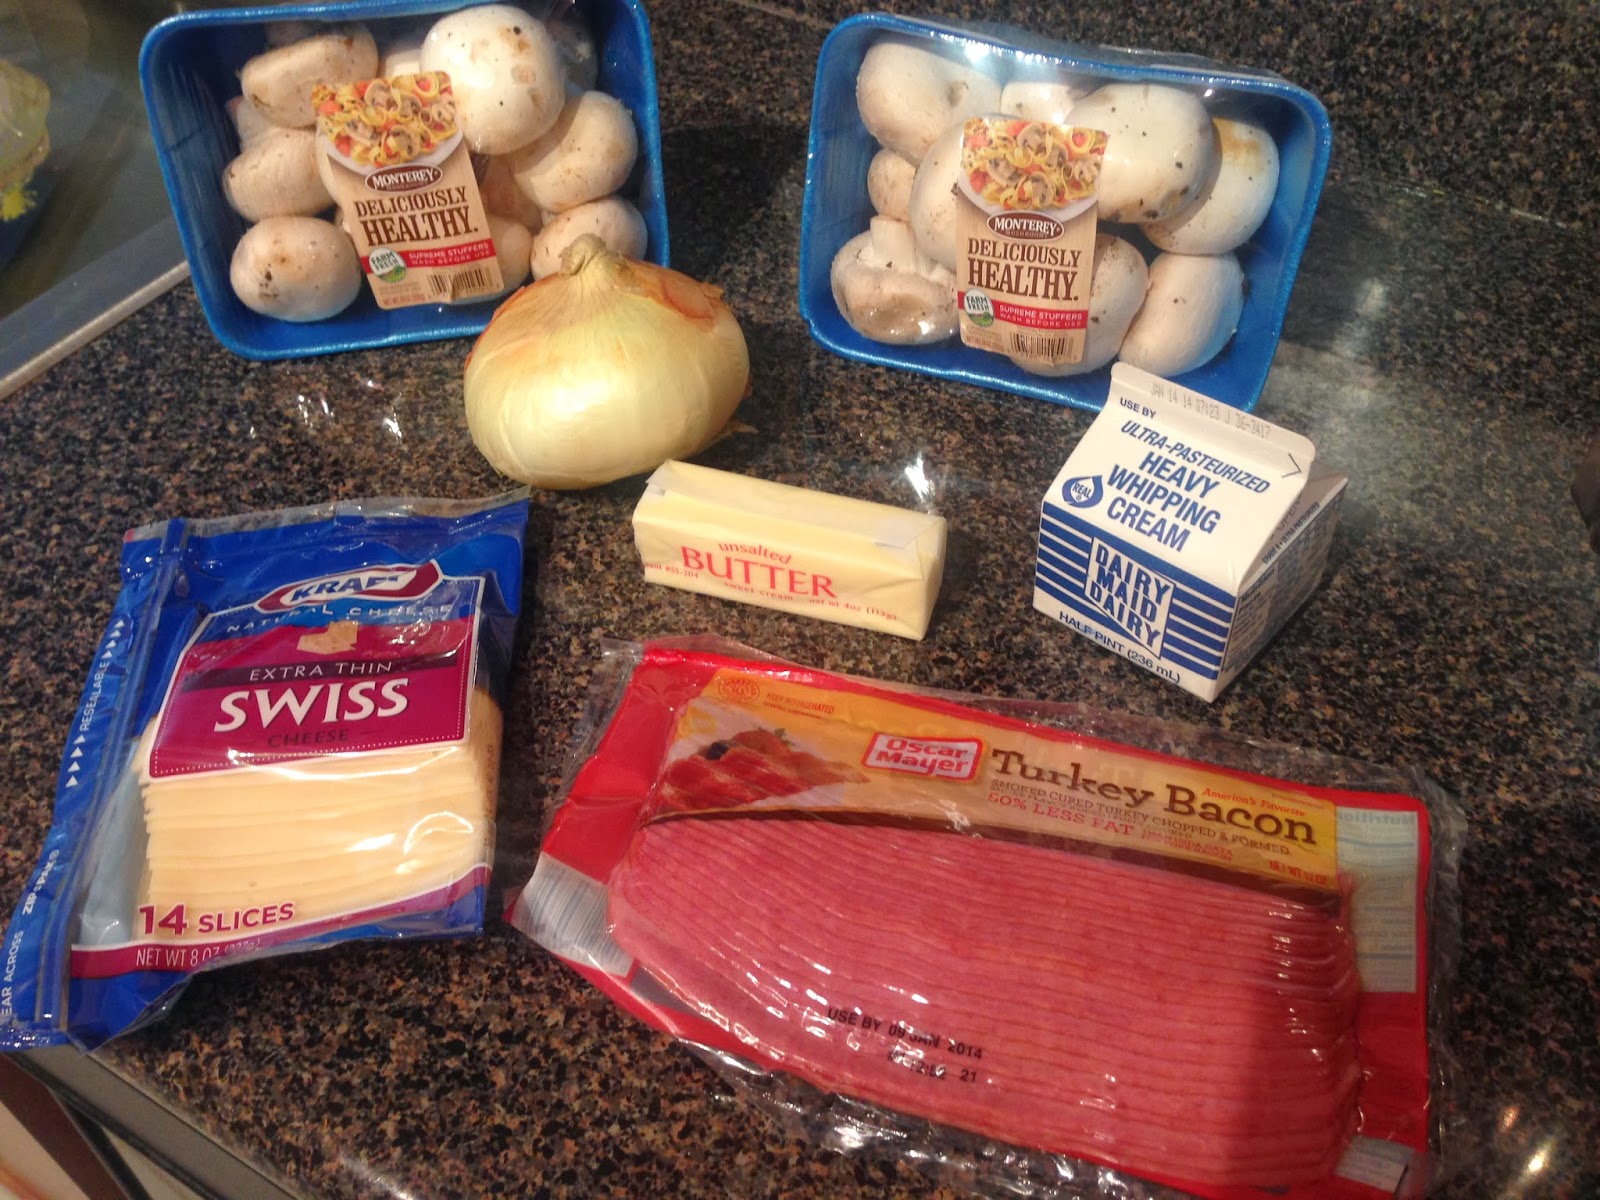
Bacon and Swiss Stuffed Mushrooms
Prep/Cook Time: 30 minutes and 40 minutes
Serves: 12-15 people
2 packages of whole mushrooms ( I like either white or baby bella mushrooms)
1to 1 &1/2 sticks of butter
1/2 a white onion, chopped
1 package of Oscar Meyer Turkey Bacon (regular bacon can be used I just prefer this)
1 pint of heavy whipping cream
1 package of sliced swiss cheese (any kind will do)
Garlic salt and pepper to taste
Your first step should be to cook the bacon till crispy. You can do this on the stove and drain the fat or you can bake it in the oven according to package directions. I prefer the oven method because then I can work on cleaning the mushrooms and chopping the onions during.


Once the bacon is cooked until crispy then chop it up.

While the bacon is cooking clean the mushrooms and save the stems to chop up into the stuffing mixture.


Chop your onion.

Add a quarter of a stick of butter into a sauté pan on medium to high heat with the onions.

Cook until the onions are tender and add in the chopped stems.


Season with garlic salt and pepper and then slowly mix in the heavy cream.

Then add in your chopped bacon.

Let it cook down until it looks combined and thickens. About 5 minutes.

While your mixture is cooking down. Melt half a stick to one stick of butter in the microwave and pour into the bottom of the pans you are using to cook the mushrooms with. Any deep dish or casserole dish will work. Then place the mushroom caps on top of the butter mixture.

Fill each cap with the stuffing mixture. I like to spoon the stuffing into each mixture nicely but my mother has always poured it on top. She thinks it looks and tastes just as good. I am a tad more of a perfectionist in this field though. :-P
To each his own. Both taste great!

Then top with the swiss cheese.

I like to double up on the cheese.

Also being the perfectionist that I am I cut the cheese into squares before placing but as long as all the mushrooms are covered in cheese tearing or laying out all over works just as well too. You don't have to be meticulous with this recipe I just am when I am hosting.
Bake the mushrooms at 350 degrees for 30-45 minutes until the cheese is fully melted and serve right away.
Friends and coworkers alike will be begging you for this recipe and you won't have any leftovers I promise. So do like I do and make sure you eat a couple before you bring them wherever you are going to ensure not only quality ( like I pretend to do, ) but also to be able to enjoy some yourself.
Now if you are going to a family get together and you are not the one hosting it is always appropriate to bring a dessert or side dish depending on the host's request. Make sure to talk to them about what is needed as to not step on any toes. If you find yourself in the need of a side dish try out this one for a quick and easy, beautifully colored and out of the ordinary dish for your table!
Cranberry, Apple, Squash Bake

Cook Time: 30 minutes
Serves: 6-8 people
1 medium sized butternut squash, chopped
2 granny smith apples, chopped
1 bag of fresh cranberries
1/2 stick of butter
1/2 c. brown sugar
1 1/2 T. cinnamon
1/2 T. nutmeg
1/2 T. ground cloves
All you need to be able to know how to do in the kitchen for this one is chop, layer, and how to work an oven.
So chop your apples. and add to your baking dish.

Then your squash.

Then add in your bag of cranberries.

Gosh doesn't that look so gorgeous already?
Then simply cut up your butter and spread evenly throughout the dish just placing on top and sprinkle in your spices and brown sugar.

Bake it in the oven for 20-30 minutes at 350 degrees until slightly fork tender you want your fruit and squash to still have a bite of firmness to them.
Now if you are a little more ambitious then I will direct you to this recipe that I found on one of my favorite food bloggers websites. BakedBree.com
Cranberry Lime Tart with White Chocolate

Since I can't write the recipe any better myself I am simply copying and pasting her instructions and I will show you my pictures of the process and what I changed. I would also like to note that while this turned out gorgeous I might even change some of the changes that I made in order to make this even better and easier to serve!
Crust:
Premade Sugar cookie roll the big one. (Yes I cheated on making a crust, so shoot me)
Lime Curd:
1/2 cup fresh lime juice
1/2 teaspoon cornstarch3/4 cup sugar
6 large egg yolks
1/2 cup butter
2 1/2 teaspoons lime zest
1 1/2 teaspoons cornstarch
2/3 cup sugar
3 Tablespoons honey
1/2 teaspoon cinnamon
1/8 teaspoon ground cloves
1/4 teaspoon allspice
1 (12-ounce) bag fresh or frozen cranberries
1/2 cup plus 2 Tablespoons sour cream
1 teaspoon vanilla
lime zest
Cranberry Topping:
1/4 cup water
White Chocolate Layer:
5 ounces white chocolate chopped
white chocolate shavings
Start with the lime curd. In a saucepan over medium heat, whisk together the lime juice and cornstarch until it dissolves. Whisk in the sugar and the egg yolks. Add the butter and whisk constantly. The curd will thicken once it comes to a boil, about 5 minutes. Put through a strainer and stir in lime zest. Cover the surface of the curd with plastic wrap, so that it touches the curd. Chill this overnight, or for two days.


In a saucepan, whisk together the water, sugar, cinnamon, cloves, and allspice. Add the sugar and honey. Whisk until the mixture comes to a boil.

Add the cranberries and cook until it comes back to a boil and the berries begin to pop, about 5 minutes. You want them to keep some of their shape.


Refrigerate until you are ready to assemble.
Bake the Sugar cookie that has been spread into a well greased pan until cooked through and slightly brown. Let cool. (FOR THE FUTURE: I will use mini pie pans or simple roll into a large cookie format and top with remaining ingredients because while this was beautiful it was hard to get out of the pan.)


To assemble the tart, spread the white chocolate layer into the bottom of the crust. Freeze for 15 minutes.Cover the white chocolate layer with the lime curd.Cover the lime curd with the cranberries. Garnish with white chocolate shavings and lime zest. Chill overnight. The whole thing can be made two days ahead of time.


I love baking with cranberries around this time of the year they are beautiful and unexpected and refreshing tastes!
Now if you are going to a holiday party an ugly sweater christmas party for example, as I have said previously I never aim to go empty handed so for this I suggest grabbing a bottle of wine, some ribbon and either some homemade goodies or store bought ones and I say you throw it all together for a nice hostess gift. For this basket I used one of my favorite delectabel Oreo ball recipes along with some other holiday goodies I was baking at the time and threw them all together for this beauty.
Gingerbread Men
(I used the recipe in the latest food network magazine. I don't have a go to one yet, but this one turned out pretty well. I can post it later if anyone would like. )

(Click on the link above to access the recipe)
These balls go through a lot of sprinkles, so make sure when you dip them in chocolate let as much of it drip off that is extra then roll in sprinkles to help preserve your stocks of sprinkles. Also this is really fun to use all the sparkly colors you can find, these ones looked seasonal to me but you can interchange the colors for whatever seems festive for you!


(Click on the link above to access the recipe I used, not my own this time but yummy & easy!)

(You can buy a pre made tube and roll them out or you can pick your favorite recipe, but I happened to try this one out. Click on the link above for the one I used.)
Another fun thing to do would be to pop in some icing so that your recipients can have some fun decorating your cookies that you baked for them later.

I just went to the local Michael's and picked up this basket, these little plastic bags and some ribbons to tie around them to make them festive. All for about 5 bucks! Local craft stores often have great finds and prices. I usually pick up a pack of holiday cards every year and this year was no different. I like to add a hand written note as another personal touch to the basket, you can see that peaking out the back. I also added a little tissue paper in the bottom so that the bags of goodies weren't just sitting in the basket with nothing to rest on getting squished by their own weight.


No matter what you do, do it with love and it will be well received.
Remember to be always be thankful for what you are blessed with. For me the holidays are about cherishing time with family and friends, eating good food, and looking good doing it. Don't forget to check out Viktoria's blog and she will give you all the fabulous fashion advice to help you make it through those days.
HAPPY HOLIDAYS!!!!


